You’ve cleared out the garage, bought the rack and the barbell, and now you’re deadlifting on bare concrete while your partner complains about the noise vibrating through the house. Or maybe you’re converting a spare bedroom and the landlord’s already given you a look about the dumbbell marks on the laminate. Either way, gym flooring is the unglamorous purchase that makes everything else work — it protects your floor, dampens noise, stops equipment sliding, and saves you from explaining to the insurance company why there’s a crack in the foundation. For related guidance, see our How to Choose a Rowing Machine for Home guide. For related guidance, see our Rubber vs Foam vs Puzzle Gym Flooring: Which Is Best? guide.
In This Article
- Why Gym Flooring Matters for a Home Setup
- Rubber Tiles vs Rubber Rolls: Which Format to Choose
- Thickness Guide: Matching Flooring to Your Training
- Best Rubber Gym Tiles for UK Home Gyms
- Best Rubber Gym Rolls for UK Home Gyms
- Installing Rubber Gym Tiles
- Installing Rubber Gym Rolls
- Subfloor Considerations
- Noise and Vibration Reduction
- Dealing with the Rubber Smell
- Maintenance and Cleaning
- Where to Buy Gym Flooring in the UK
- Frequently Asked Questions
Why Gym Flooring Matters for a Home Setup
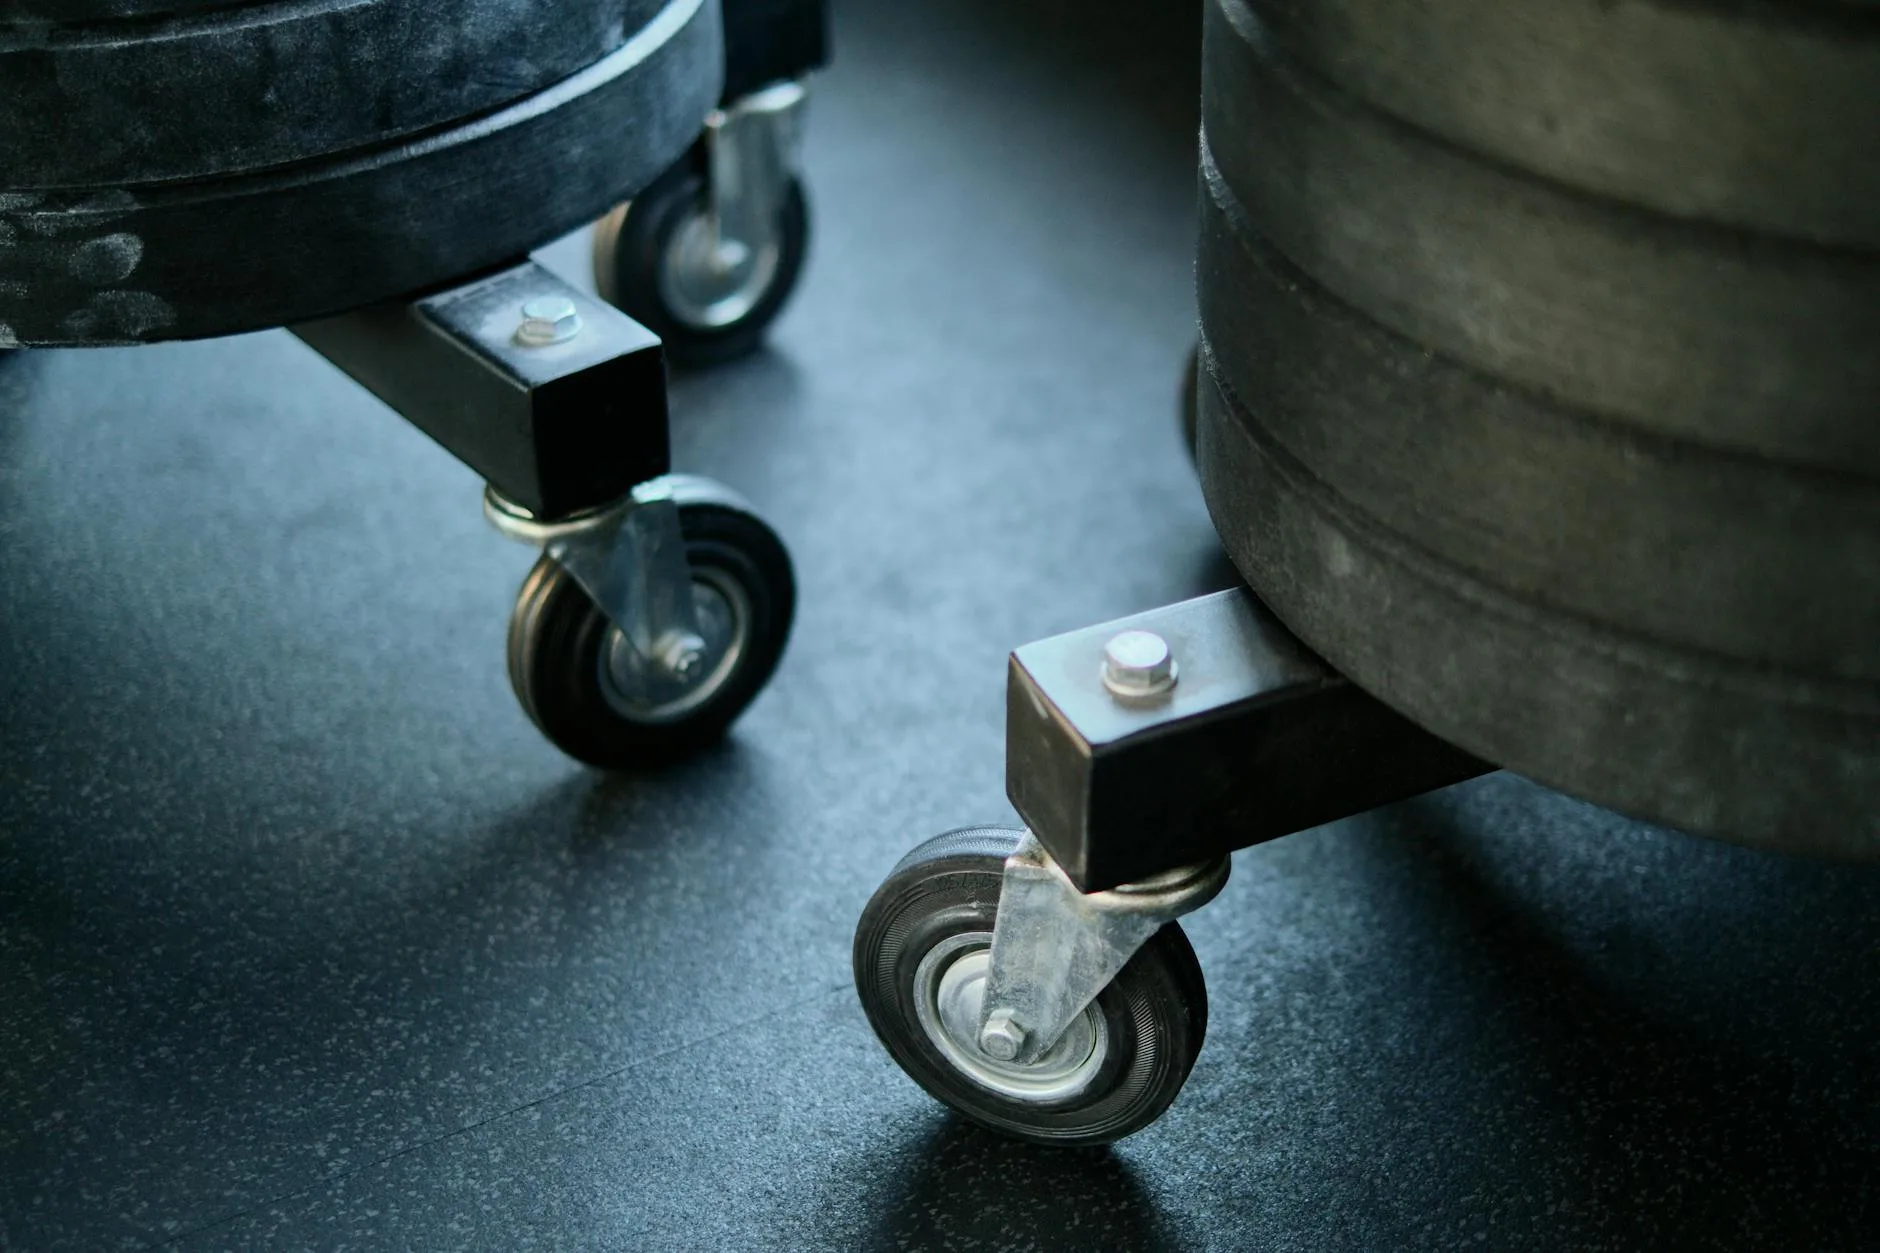
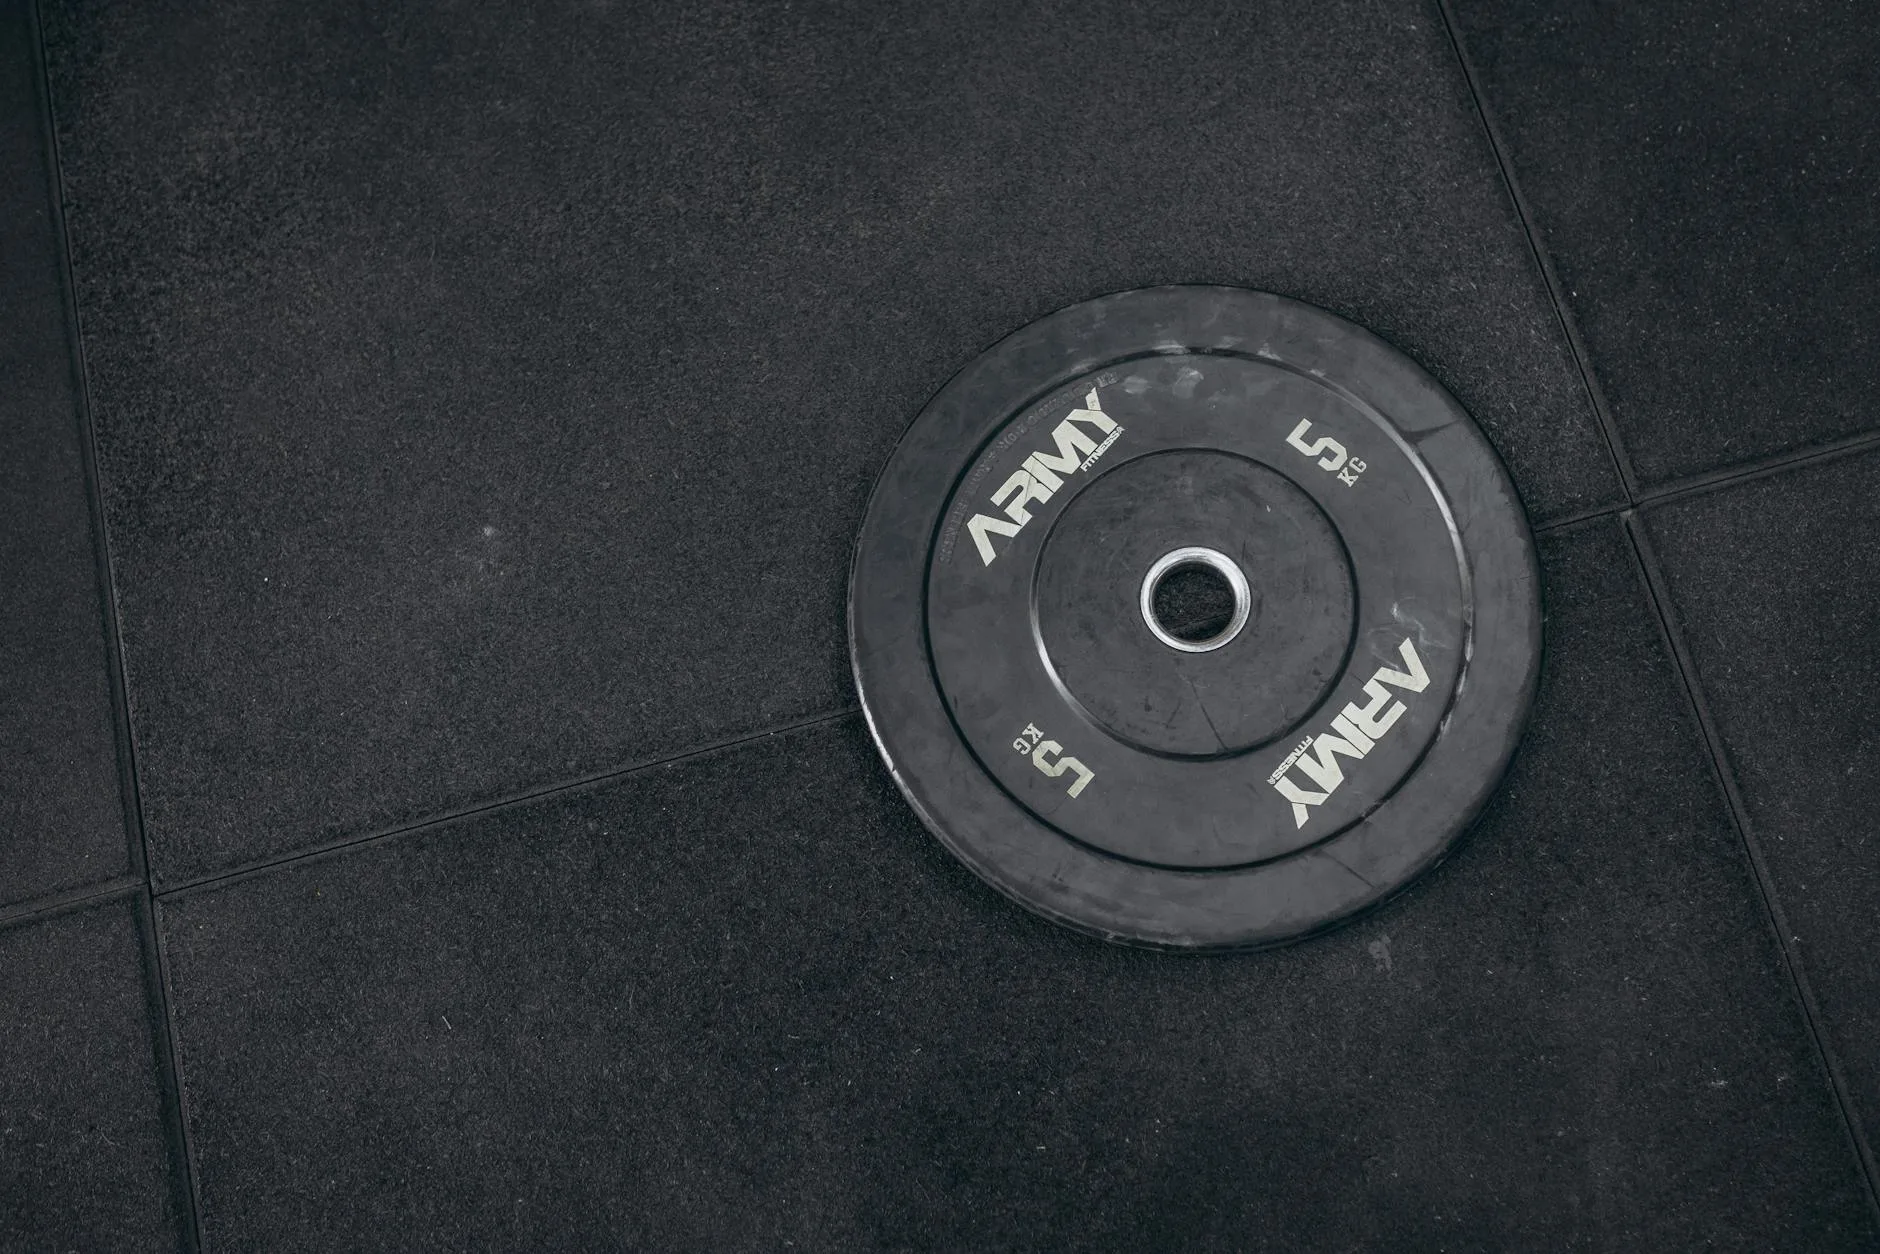
If you train with any kind of weight, flooring isn’t optional — it’s essential kit. Dropping a 100kg deadlift on concrete does three things: it sends a shockwave through the floor that your neighbours (or family) will hear and feel, it chips the concrete or cracks tiles beneath, and it damages your barbell plates over time. Even moderate dumbbell work on an unprotected floor leaves marks, dents, and scratches.
Good gym flooring absorbs impact, reduces noise by 40-60%, provides a stable non-slip surface for lifting, and protects both the floor underneath and your equipment. It also makes the space feel like an actual gym rather than a corner of the garage you’ve dumped some weights in.
The Real Cost of Not Having Flooring
I’ve spoken to home gym owners who’ve cracked garage floor slabs, dented concrete screeds, and destroyed laminate flooring because they skipped the flooring step. Repairing a cracked concrete garage floor costs £500-1,500 depending on the severity. A full set of gym flooring for the same space costs £150-400. The maths speaks for itself.
Rubber Tiles vs Rubber Rolls: Which Format to Choose
Rubber gym flooring comes in two main formats, and the right choice depends on your space, your training, and how permanent you want the setup to be.
Rubber Tiles
Interlocking tiles — usually 50cm × 50cm or 1m × 1m squares — that piece together like a jigsaw. They’re the most popular choice for home gyms in the UK because they’re easy to transport, simple to install, and can be lifted and rearranged if you move or change your layout.
- Best for: Garage gyms, spare rooms, rented properties (easy to remove), smaller or irregular spaces
- Tile sizes: Typically 50 × 50cm or 100 × 100cm
- Thickness range: 10mm to 40mm
- Price range: £15-40 per square metre
Rubber Rolls
Continuous rolls of rubber, typically 1.25m wide and sold in lengths of 5-10m. These create a seamless surface with no joints or gaps — which matters for exercises where you’re moving laterally (lunges, sled pushes) or rolling equipment across the floor.
- Best for: Dedicated gym rooms, permanent installations, larger rectangular spaces, commercial-feel setups
- Roll widths: Usually 1.22m or 1.25m
- Thickness range: 4mm to 12mm (rolls tend to be thinner than tiles)
- Price range: £10-30 per square metre
Quick Decision Guide
- Renting or might move? → Tiles. You can disassemble and take them with you
- Permanent garage gym? → Rolls for the main area, tiles for a lifting platform
- Tight budget? → Rolls are typically cheaper per square metre
- Heavy deadlifts and drops? → Tiles (available in thicker gauges)
- Mixed use space (gym + car)? → Tiles. You can lift a section when you need to park
Thickness Guide: Matching Flooring to Your Training
This is where people get it wrong most often. The right thickness depends entirely on what you’re doing in the space. Too thin and you get no protection; too thick and you waste money on cushioning you don’t need (and some exercises actually feel unstable on overly thick flooring).
10-15mm: Light Training
Suitable for bodyweight exercises, yoga, light dumbbell work, cardio equipment (treadmills, exercise bikes). This thickness protects the floor from scratches and provides basic cushioning, but it won’t absorb the impact of dropped weights.
- Good for: Bedroom or living room gym corners, cardio-focused setups
- Not enough for: Barbell training, heavy dumbbell work, Olympic lifting
15-20mm: General Strength Training
The sweet spot for most home gyms. Handles dumbbell drops, rack work, bench pressing, and moderate deadlifts. Provides good noise reduction and floor protection without feeling spongy underfoot.
- Good for: Rack-based training, dumbbell routines up to 40-50kg per hand, kettlebells
- Not enough for: Heavy deadlifts over 150kg, Olympic lifting with drops from overhead
20-30mm: Heavy Lifting
For serious lifters doing heavy deadlifts, squats with bail-outs, and any training where loaded barbells might contact the floor with force. This thickness provides substantial impact absorption and noise reduction.
- Good for: Powerlifting, heavy deadlifts, strongman training
- Consider adding: A dedicated lifting platform with 30mm+ rubber and plywood for the heaviest work
30-40mm: Olympic Lifting and Dropping
The thickest standard option, designed for Olympic weightlifting where loaded barbells are dropped from overhead regularly. At this thickness, you can drop 150kg+ without worrying about floor damage — though the noise still travels through joists in upstairs rooms.
- Good for: Olympic lifting platforms, CrossFit-style training, dedicated weightlifting spaces
- Note: At 40mm thickness, some lifters find the surface too compliant for squatting — it’s specifically for impact zones, not the whole floor
If you’re building a complete home gym setup, our guide to building a home gym under £500 includes flooring in the budget breakdown.
Best Rubber Gym Tiles for UK Home Gyms
After testing several options and reading through hundreds of UK home gym forum posts, these are the tiles worth considering.
Best Overall: Mirafit Rubber Gym Tiles (About £25/m²)
Mirafit are one of the most trusted home gym brands in the UK, and their interlocking tiles are consistently well-reviewed. Available in 20mm thickness with a flat or studded surface, they’re dense enough for heavy dumbbell work and moderate barbell training. The interlocking edges stay put and don’t separate under lateral movement. Available directly from Mirafit’s website with free delivery over £100.
What I like: the density is noticeably better than budget alternatives. They don’t compress permanently under heavy rack feet the way cheap tiles do. After six months of use, the tiles under my squat rack still look the same as day one.
Best Budget: BalanceFrom Puzzle Tiles (About £15/m²)
Available on Amazon UK, these EVA foam tiles are the cheapest option that’s still functional. They’re 12mm thick and fine for light dumbbell work, bodyweight training, and cardio equipment. Not suitable for dropping weights — EVA foam compresses permanently under point loads. But for a bedroom gym corner or a yoga/stretching area, they’re hard to beat at the price.
Best Heavy-Duty: Gym Rubber Tiles 30mm (About £35/m²)
Sold by Gym Flooring UK and Fitness Superstore, these 1m × 1m × 30mm solid rubber tiles handle everything short of Olympic drops. The 30mm density absorbs deadlift impacts well and provides excellent noise reduction. They’re heavy — each 1m² tile weighs about 22kg — which actually helps them stay in place without adhesive.
Best Premium: Gymguard 40mm Olympic Tiles (About £45/m²)
If you’re doing regular Olympic lifting with bar drops, these are purpose-built. 40mm of dense recycled rubber with a smooth top surface. Used in commercial CrossFit boxes across the UK. Overkill for general training but exactly right for a dedicated lifting platform. Available from Gymguard directly.
Best Rubber Gym Rolls for UK Home Gyms
Best Overall: Mirafit Rubber Roll (About £18/m²)
Available in 6mm thickness and 1.22m width, sold in 5m or 10m lengths. Perfect for covering a full garage floor — one 10m × 1.22m roll covers about 12m². The continuous surface is ideal under cardio equipment and for general training. Heavier equipment like squat racks benefits from tile pads on top for extra protection.
Best Budget: IncStores Rubber Roll (About £12/m²)
A 3.5mm roll that provides basic floor protection and a non-slip surface. It won’t absorb deadlift impacts, but it stops equipment scratching the floor and gives the space a finished look. Fine for machine-based training and bodyweight work. Available on Amazon UK.
Best Heavy-Duty: Regupol 8mm Commercial Roll (About £28/m²)
The commercial standard — you’ll find Regupol in most UK commercial gyms. The 8mm thickness handles everything except heavy Olympic drops, and the density is noticeably superior to consumer alternatives. Sold by specialist flooring suppliers like Gym Flooring UK and Sprung Gym Flooring. Professional installation is available but not necessary.
Installing Rubber Gym Tiles
Tile installation is genuinely a DIY job — no specialist skills needed. Here’s how to do it properly.
What You Need
- Tiles (measure your space and add 5% for cuts)
- Stanley knife with fresh blades (rubber dulls blades fast)
- Straight edge or metal ruler
- Tape measure
- Rubber mallet (optional, for persuading tight interlocking edges)
Installation Steps
- Clear the floor completely and sweep or vacuum to remove all grit and debris. Any small stones trapped under tiles will create bumps you feel underfoot
- Start in one corner of the room and work outward. Place the first tile flush against two walls
- Interlock subsequent tiles by aligning the jigsaw edges and pressing firmly. Use a rubber mallet for tight fits — don’t force with your foot, as you can crack the edge tabs
- When you reach the opposite wall, measure the gap and cut a tile to fit using the Stanley knife and straight edge. Score the rubber surface 3-4 times along the line, then bend and snap
- Repeat for each row until the floor is covered
- Don’t use adhesive unless the tiles shift during training. Most interlocking tiles stay put under their own weight, especially at 20mm+ thickness. If you need adhesive, use a rubber-to-concrete contact adhesive from a builders’ merchant
Common Installation Mistakes
- Not leaving a small expansion gap at the walls (5-10mm): Rubber expands slightly in heat. Without a gap, tiles can buckle in summer
- Starting from the centre: Start from a corner. Centre-out installation works for decorative tiles but creates more cuts and waste for gym tiles
- Using a blunt blade: A dull Stanley knife tears rubber rather than cutting it cleanly. Change blades every 3-4 cuts
Installing Rubber Gym Rolls
Rolls require a bit more planning but create a superior finished surface.
Installation Steps
- Unroll the rubber in the room and let it acclimatise for 24-48 hours. Rolls have a memory from being coiled and will curl at the edges if installed immediately
- Position the first roll against one wall, leaving a 5mm expansion gap
- Lay subsequent rolls butted tightly against the previous one. The joins should be invisible from standing height
- Cut to length using a sharp Stanley knife and straight edge. Roll cuts are easier than tile cuts because the rubber is thinner
- For permanent installations, use double-sided carpet tape along the seams and perimeter. This prevents the rolls from shifting and the seams from opening over time
- For temporary installations (rented spaces), the rolls’ own weight often holds them in place without tape
Dealing with Seams
The main weakness of rolls is the visible seam where two widths meet. To minimise this:
- Butt the edges as tightly as possible during installation
- Apply a thin bead of rubber sealant along the seam (available from gym flooring suppliers)
- Place equipment across seams rather than along them — a rack that straddles a seam holds both sides down
Subfloor Considerations
What’s underneath your gym flooring affects how well it performs. The subfloor matters more than most people realise.
Concrete (Garage, Basement)
The ideal subfloor for a home gym. Concrete is rigid, stable, and handles heavy loads without flexing. Lay rubber directly on concrete after sweeping clean. If the concrete is damp (common in UK garages), lay a DPM (damp-proof membrane) sheet underneath first — moisture trapped under rubber creates mould and smells.
Timber Joists (Upstairs Rooms, Bedrooms)
This is where it gets complicated. Timber floors flex under load and transmit vibration and noise to rooms below. According to UK building regulations, domestic floor joists are typically rated for 1.5kN/m² distributed load — which is fine for a squat rack (about 250kg total including you, spread over 1.5m²) but potentially problematic for heavy drops.
- Add plywood sheeting (18mm) over the joists before laying rubber. This distributes point loads and reduces flexing
- Never drop heavy barbells on timber floors without substantial protection (30mm+ rubber over 18mm plywood minimum)
- Check joist spacing and condition if the room is above living space. Standard 400mm spacing is fine; wider spacing increases bounce and noise
Laminate, Vinyl, or Carpet
Remove soft floor coverings before laying gym flooring. Rubber tiles on top of carpet are unstable — the carpet compresses unevenly and creates a wobbly surface. Laminate and vinyl can be left in place if you’re only doing light training, but heavy equipment will dent them through the rubber over time.
Our guide to setting up a home gym on a budget covers the full space planning process if you’re starting from scratch.
Noise and Vibration Reduction
If you share a wall, floor, or ceiling with anyone, noise reduction is probably the real reason you’re looking at gym flooring. Rubber helps, but understanding what it can and can’t do sets realistic expectations.
What Rubber Flooring Fixes
- Impact noise from dropped weights: Reduced by 40-60% with 20mm+ rubber tiles. The thicker the rubber, the more impact absorption
- Equipment vibration: Treadmill and rower vibrations are almost eliminated on 10mm+ rubber
- Scraping and sliding noise: Completely eliminated — rubber provides a non-slip surface that stops plates and dumbbells moving
What Rubber Flooring Doesn’t Fix
- Structure-borne vibration from heavy drops: Even 40mm rubber can’t stop a 200kg deadlift from vibrating through concrete into adjacent rooms. The energy has to go somewhere. For this, you need a dedicated lifting platform with layers (plywood + rubber + plywood sandwich)
- Grunt noise: That’s on you
The Lifting Platform Solution
For heavy deadlifts and Olympic lifts in noise-sensitive environments, build a lifting platform:
- Bottom layer: 18mm plywood sheet (2.4m × 1.2m)
- Middle layer: 30mm rubber tiles across the full area
- Top layer: 18mm plywood centre section (for standing on) with rubber tiles on the drop zones either side
- Total cost: £100-180 for materials
This sandwich construction absorbs impact through deformation of the rubber layer while the plywood distributes force across a large area. The difference in noise compared to rubber alone is remarkable — I measured about 15dB reduction on a decibel meter app, which roughly halves the perceived loudness.
Dealing with the Rubber Smell
New rubber gym flooring smells. There’s no getting around it. The volatile organic compounds (VOCs) that off-gas from recycled rubber are chemically harmless at the concentrations found in a home gym, but the smell is noticeable and some people find it unpleasant.
How Long It Lasts
- Tiles (20mm+): The smell is strongest in the first 2-4 weeks and fades to undetectable within 2-3 months
- Rolls: Thinner material means less rubber, so the smell dissipates faster — typically 1-2 weeks
- In a garage with ventilation: 1-2 weeks
- In a closed spare room: 4-8 weeks (longer without airflow)
Speed Up the Process
- Unbox and lay out tiles in a ventilated space (open garage door, open windows) for 3-5 days before installing in a closed room
- Run a fan across the flooring surface to accelerate off-gassing
- Clean the surface with a 50/50 white vinegar and water solution — this neutralises some of the VOCs
- A dehumidifier in the space helps by improving air circulation
What Doesn’t Work
- Air fresheners (mask the smell but don’t remove it)
- Sealing with varnish or paint (traps VOCs and makes the surface slippery)
- “Odourless” rubber claims (every rubber product off-gasses initially — some less than others, but none are truly odour-free)
Maintenance and Cleaning
Rubber gym flooring is low-maintenance, which is part of its appeal. A few minutes per week keeps it hygienic and extends its life.
Weekly
- Sweep or vacuum to remove dust, chalk, and grit (grit scratches rubber and works into seams)
- Mop with warm water and a small amount of washing-up liquid. Avoid bleach, ammonia, or harsh chemicals — these break down rubber over time
- Wipe down any areas where sweat pools (under a bench, around a bike)
Monthly
- Deep clean with a dedicated rubber floor cleaner (available from cleaning suppliers for £8-12 per litre)
- Check interlocking joints on tiles — push any that have separated back together
- Inspect for cuts or tears, particularly around heavy equipment feet
What to Avoid
- Never use a steam cleaner — excessive heat warps rubber and breaks down adhesives
- Avoid rubber-soled shoes on rubber floors — they can leave scuff marks that are difficult to remove. Training shoes with non-marking soles are ideal
- Don’t drag heavy equipment across the surface — lift it. Dragging creates permanent scuff tracks
Where to Buy Gym Flooring in the UK
Online Specialists
- Mirafit (mirafit.co.uk) — tiles and rolls, free delivery over £100, reliable quality
- Gym Flooring UK (gymflooringuk.co.uk) — widest range of thicknesses and formats, including commercial grades
- Fitness Superstore (fitnesssuperstore.co.uk) — tiles from multiple brands, physical showroom in Reading if you want to see samples
High Street and General Retailers
- Amazon UK — budget options like BalanceFrom, plus some Mirafit products. Check seller ratings carefully
- Screwfix — surprisingly good for basic rubber mats and rolls at competitive prices
- B&Q — limited but occasionally stock garage flooring that works for light gym use
Tips for Buying
- Order samples first — most specialist retailers offer free or cheap samples. The density, texture, and smell of rubber varies hugely between brands, and you can’t judge from photos
- Buy 5-10% extra — you’ll need cuts for edges and corners, and having a spare tile for replacement beats reordering (batches can vary in shade)
- Check delivery costs — rubber flooring is heavy. A 12m² tile order can weigh 100kg+. Free delivery thresholds save you a lot
- Consider the adjustable dumbbell pair from our best adjustable dumbbells guide — they reduce the number of weights hitting the floor and work brilliantly on a properly floored surface
Frequently Asked Questions
How thick should gym flooring be for a home gym? For general dumbbell and rack-based training, 15-20mm rubber tiles are the sweet spot. If you’re doing heavy deadlifts over 150kg or Olympic lifts with bar drops, go for 30-40mm. Light cardio and bodyweight training only needs 10-15mm.
Are rubber gym tiles better than rubber rolls? Tiles are easier to install, transport, and remove — ideal for rented spaces or layouts that might change. Rolls create a seamless surface that’s better for lateral movement and looks more professional. For most UK home gyms, tiles are the more practical choice.
How do I stop the new rubber smell from gym flooring? Ventilate the room well for the first 2-4 weeks — open windows, run a fan across the surface. Washing the flooring with a 50/50 white vinegar and water solution helps neutralise the VOCs faster. The smell fades to undetectable within 2-3 months for tiles, faster for thinner rolls.
Can I put gym flooring on carpet? Not recommended. Carpet compresses unevenly under load, creating an unstable surface for lifting. Remove carpet first if possible. If you’re renting and can’t remove it, use a plywood sheet (18mm) over the carpet and lay rubber tiles on top of that for a stable base.
How much does gym flooring cost for a typical UK home gym? Budget around £150-400 for a standard single-garage space (roughly 12-15m²). Basic rolls start at £12/m², mid-range tiles are £20-30/m², and premium heavy-duty tiles run £35-45/m². Most specialist retailers offer free delivery over £100.