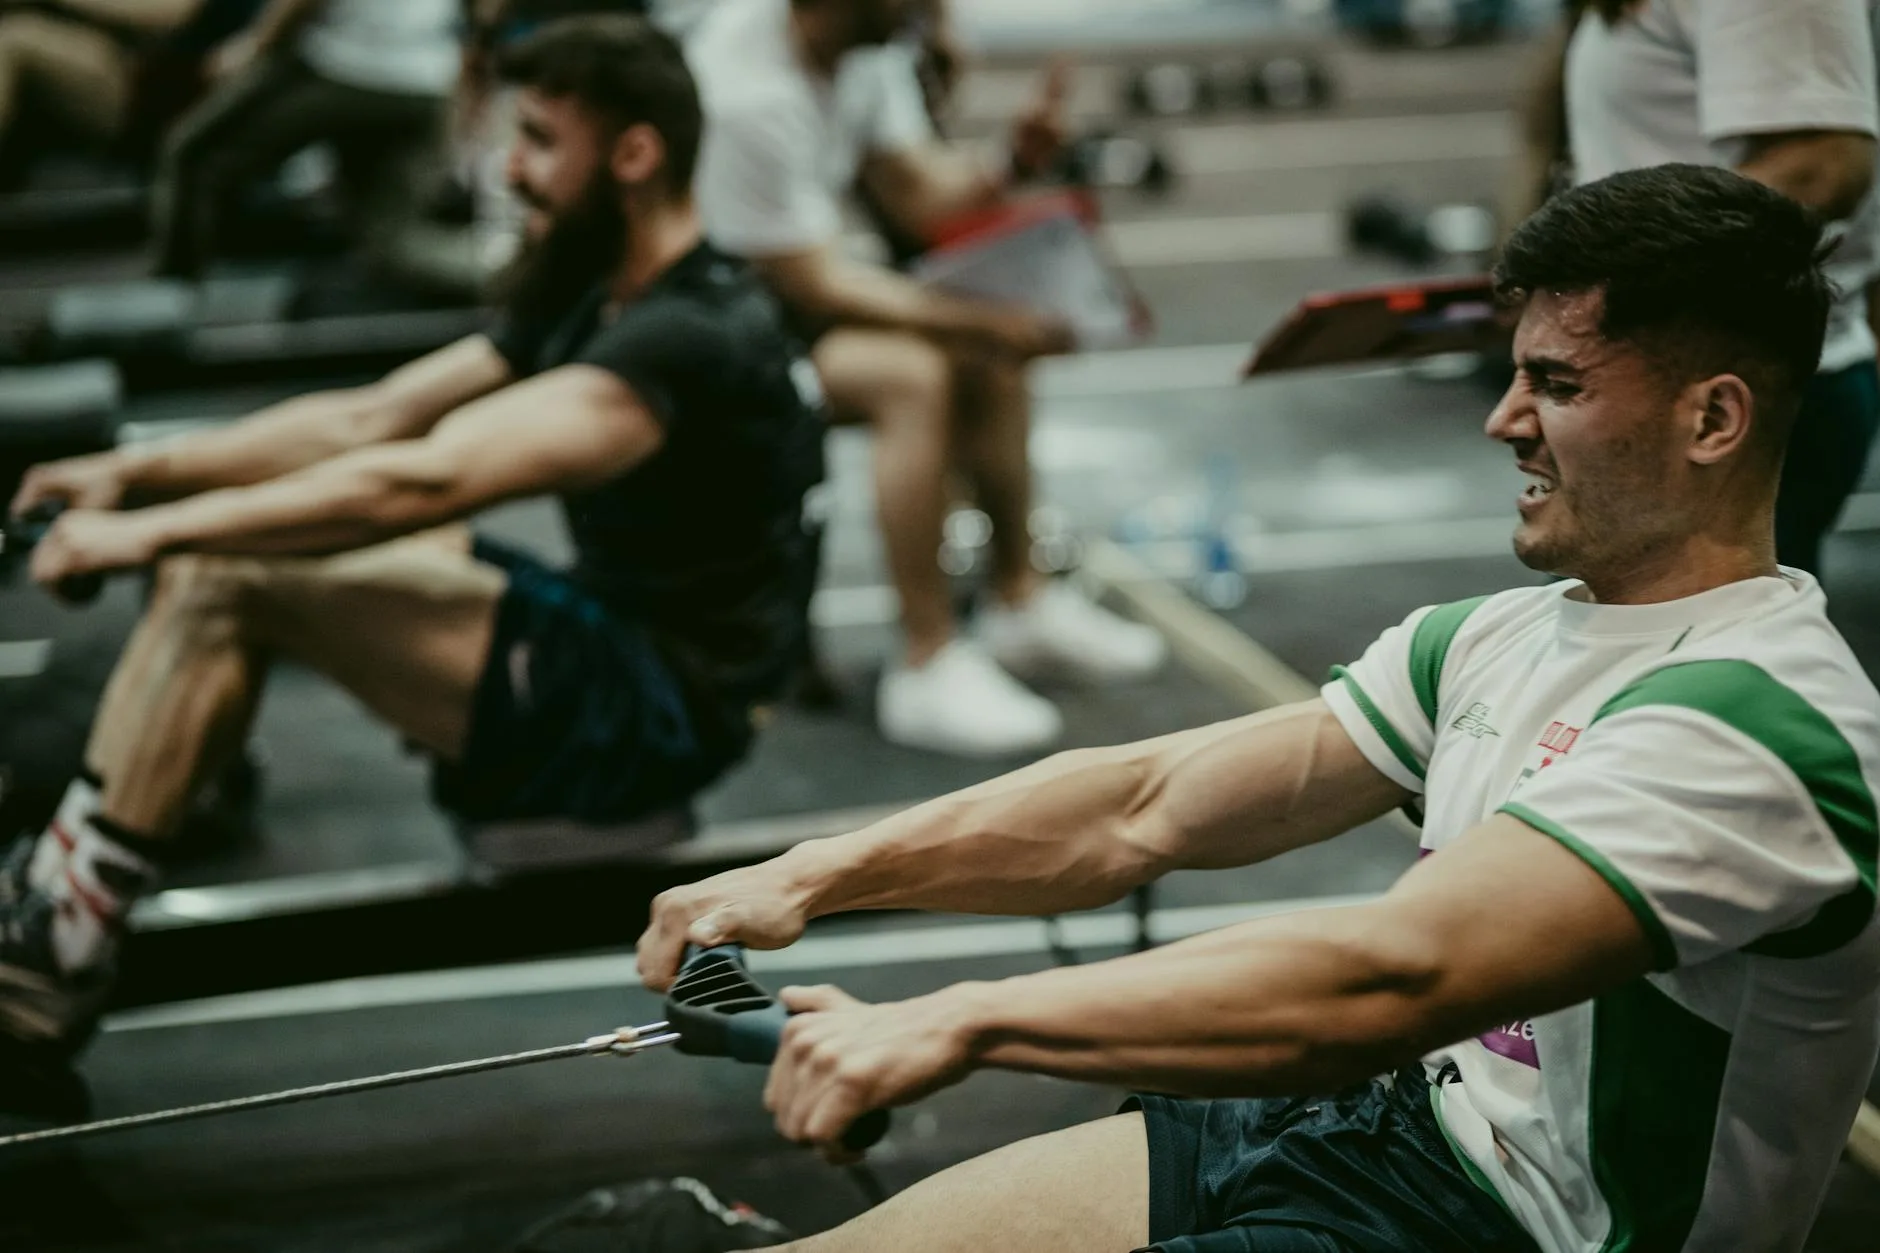
You sit on the rowing machine, grab the handle, and start pulling. Your back rounds, your arms do most of the work, and after five minutes your lower back aches and you’ve barely broken a sweat. Sound about right? Most people use rowing machines wrong, and the reason is that nobody teaches you how. Treadmills and bikes are intuitive — you walk on one and pedal the other. Rowing has a specific technique that isn’t obvious, and getting it wrong doesn’t just waste your workout, it risks genuine injury.
The good news is that proper rowing form isn’t complicated. Once you understand the four-phase stroke and get the sequence right, rowing becomes one of the best full-body exercises you can do — working legs, back, core, and arms in a smooth, low-impact movement that burns more calories per minute than most people realise. I’ve been rowing for years and still catch myself slipping into bad habits, so this isn’t a one-and-done lesson. It’s something you refine every session. For related guidance, see our Best Smart Rowing Machines 2026 UK: Connected Fitness guide. For related guidance, see our Rowing Machine vs Exercise Bike: Which Burns More Calories? guide.
In This Article
- Why Form Matters on a Rowing Machine
- The Four Phases of the Rowing Stroke
- The Catch (Starting Position)
- The Drive (The Power Phase)
- The Finish (End of the Stroke)
- The Recovery (Returning to the Start)
- The Most Common Rowing Mistakes
- Setting Up Your Rowing Machine Correctly
- Understanding the Monitor
- Beginner Rowing Workouts
- How Rowing Compares to Other Cardio
- Frequently Asked Questions
Why Form Matters on a Rowing Machine
Injury Prevention
The rowing stroke loads your lower back, knees, and shoulders. With good form, these loads are distributed safely across large muscle groups. With bad form — particularly a rounded lower back or overreaching at the catch — the loads concentrate on vulnerable joints and spinal structures. Lower back pain is the most common rowing machine complaint, and it’s almost always caused by poor technique rather than rowing being inherently risky.
Workout Effectiveness
Rowing should be about 60% legs, 20% core, and 20% arms. Most beginners row with about 20% legs and 80% arms, which explains why their arms fatigue in five minutes while their legs feel barely used. Getting the power distribution right transforms rowing from an arm exercise into a genuine full-body workout that can burn 400-600 calories per hour.
Muscle Engagement
Proper form engages your quadriceps, hamstrings, glutes, lats, rhomboids, biceps, and core in every single stroke. No other piece of gym equipment works this many muscle groups simultaneously. But only if you’re doing it right — arm-dominant rowing misses the legs and core entirely, turning a brilliant exercise into a mediocre one.
The Four Phases of the Rowing Stroke
The rowing stroke has four distinct phases that flow continuously into each other. Think of it as a cycle, not four separate movements. The sequence is: Catch → Drive → Finish → Recovery → Catch again.
The most important thing to learn is the order of muscle engagement during the drive: legs first, then lean back with the core, then pull with the arms. Reverse the order on the recovery: arms away first, then lean forward, then bend the knees. Getting this sequence right is 80% of good rowing form.
The Catch (Starting Position)
Body Position
- Sit upright on the seat with your shins vertical (perpendicular to the floor)
- Lean forward slightly from the hips — about 1 o’clock on a clock face
- Arms extended straight, holding the handle with a relaxed overhand grip
- Shoulders relaxed and down — not hunched up toward your ears
- Core engaged but not rigid — think “tall and ready” not “tense and crunched”
Common Catch Mistakes
- Overreaching — sliding too far forward so your shins pass vertical. This compresses your body and puts your lower back in a vulnerable position
- Rounded back — the most damaging mistake. Your spine should maintain its natural curve; rounding it loads the lumbar discs unevenly
- Lifting the heels — your feet should stay flat on the footplate at the catch. If your heels lift, you’ve come too far forward
- Death grip — squeezing the handle tightly wastes energy and leads to forearm fatigue. Hold it like you’d hold a bird — firm enough that it doesn’t fly away, gentle enough not to hurt it
The Drive (The Power Phase)
The Sequence: Legs → Core → Arms
This is where most people go wrong. The drive starts with the legs and finishes with the arms, not the other way around.
- Push with your legs first — press through your heels and extend your knees. Your arms stay straight during this phase. Think of your arms as ropes connecting the handle to your body — they just transmit the leg power
- Lean back with your core — once your legs are about halfway extended, hinge backward from the hips to about 11 o’clock (slight lean back). Your core controls this lean
- Pull with your arms — only after your legs have fully extended and your body has leaned back. Pull the handle to your lower ribs, squeezing your shoulder blades together
Power Distribution
If you’re rowing well, the leg drive should feel like the dominant effort. Your quads and glutes should fatigue before your arms. If your arms are burning after five minutes, you’re pulling too early in the sequence.
The British Rowing Approach
British Rowing recommends that beginners focus exclusively on the leg drive for the first few sessions — practising the push without any arm pull — to ingrain the correct sequence. This feels weird but builds the right muscle memory.
The Finish (End of the Stroke)
Body Position
- Legs fully extended (knees nearly straight but not locked)
- Body leaning back to about 11 o’clock — a modest lean, not lying down
- Handle pulled to lower ribs — roughly where a belt would sit
- Elbows drawn past the body, shoulder blades squeezed together
- Wrists flat — not curled upward
What to Feel
At the finish, you should feel your lats (the big muscles under your arms), your rhomboids (between your shoulder blades), and your glutes. If you feel it mainly in your biceps and lower back, the sequence was wrong.
The Recovery (Returning to the Start)
The Reverse Sequence: Arms → Core → Legs
The recovery is the drive in reverse. This is where rhythm is built — the recovery should take about twice as long as the drive. Most beginners rush the recovery, which creates a choppy, inefficient stroke.
- Extend your arms — push the handle away from your body until your arms are straight
- Lean forward — hinge from the hips back to the 1 o’clock position
- Bend your knees — slide the seat forward until your shins are vertical again
The Critical Rule
Your hands must pass your knees before your knees bend. If you bend your knees before your hands have passed them, you’ll have to lift the handle over your knees — a choppy, inefficient movement that breaks the rhythm. Arms away first, lean forward, then slide.
The Most Common Rowing Mistakes
Mistake 1: Shooting the Slide
Your seat moves backward before the handle moves — your legs push but your arms don’t transmit the force. The fix: imagine pushing the footplate away from you rather than pushing yourself backward. Keep your arms straight until the legs have done their work.
Mistake 2: Pulling with Arms First
Starting the drive by bending your elbows before your legs push. This creates an arm-dominant stroke that wastes the largest muscle groups in your body. The fix: practise legs-only rowing for 2-3 minutes at the start of every session.
Mistake 3: Leaning Too Far Back
Leaning past 11 o’clock at the finish. This strains the lower back and doesn’t add power — the extra lean is just wasted movement. The fix: imagine there’s a wall behind you at 11 o’clock. Touch it and stop.
Mistake 4: Grip Too Tight
White-knuckling the handle. This fatigues your forearms and wrists within minutes and contributes to blisters. The fix: hook the handle with your fingers and let the thumb wrap underneath. Relax between strokes.
Mistake 5: Stroke Rate Too High
Rowing at 30-35 strokes per minute because it feels like more effort equals more workout. In reality, a controlled 20-24 strokes per minute with strong leg drive produces more power (and burns more calories) than fast, choppy strokes. Quality over speed, always.
Setting Up Your Rowing Machine Correctly
Foot Strap Position
The strap should cross over the ball of your foot — the wide part where your toes join the foot. Too high (across the toes) and you can’t push through your heels. Too low (across the arch) and your foot lifts off the plate during the drive. This setup takes 10 seconds and most people never adjust it from whatever the last person left.
Damper Setting
The damper lever on the side of an air rowing machine (like a Concept2) controls how much air enters the flywheel. It is NOT a resistance dial — setting it to 10 doesn’t mean a harder workout. It changes the feel of the stroke:
- 1-3 — lighter feel, faster flywheel spin, favours technique
- 4-6 — the sweet spot for most people; mimics the feel of rowing on water
- 7-10 — heavier feel, like rowing through treacle; slows the flywheel and stresses the back
Most experienced rowers and rowing coaches recommend 3-5. Setting it to 10 doesn’t burn more calories — it just makes your back hurt.
Seat and Rail
Make sure the seat moves smoothly on the rail. If it sticks or jumps, wipe the rail with a damp cloth. A sticky seat disrupts the recovery and throws off your timing.
Understanding the Monitor
Key Metrics
- Split time (per 500m) — the most important number. It tells you how fast you’d complete 500m at your current pace. Lower is better. Beginners: aim for 2:30-3:00. Intermediate: 2:00-2:30. Advanced: under 2:00
- Stroke rate (SPM) — strokes per minute. For steady-state rowing, aim for 18-24 SPM. For intervals, 26-32 SPM
- Distance — total metres rowed
- Calories — estimated calorie burn (take these numbers with a pinch of salt — they overestimate for lighter people and underestimate for heavier ones)
The NHS Perspective
The NHS recommends 150 minutes of moderate aerobic activity per week for adults. Rowing at a steady pace counts as moderate activity, and 30 minutes five times per week ticks that box while working more muscle groups than running or cycling.
Beginner Rowing Workouts
Workout 1: Technique Builder (15 minutes)
- 3 minutes: legs-only rowing (arms straight, just push with legs)
- 3 minutes: legs and body swing (add the lean, keep arms straight)
- 3 minutes: full stroke at 18 SPM (slow and controlled)
- 3 minutes: full stroke at 22 SPM (slightly faster)
- 3 minutes: cool down at 16-18 SPM
Workout 2: Steady State (20 minutes)
- 5 minutes: warm up at easy pace (2:30+ split)
- 10 minutes: steady state at 22-24 SPM (aim for consistent split time)
- 5 minutes: cool down at easy pace
Workout 3: Interval Introduction (20 minutes)
- 5 minutes: warm up
- 6 × 1 minute hard / 1 minute easy
- 3 minutes: cool down
Start with one session per week and build to three. Our guide to HIIT rowing workouts has more advanced interval sessions once you’re comfortable with the basics.
How Rowing Compares to Other Cardio
Rowing vs Running
Running is higher impact — every stride sends 2-3x your body weight through your joints. Rowing is virtually zero impact, which makes it better for anyone with knee, hip, or ankle issues. Rowing also works the upper body and core, which running doesn’t. Calorie burn is comparable — about 400-600 per hour for both at moderate intensity.
Rowing vs Cycling
Both are low-impact. Cycling is predominantly legs with some core engagement. Rowing adds significant upper body and core work. Rowing typically burns slightly more calories per hour than cycling at the same perceived effort. Cycling is easier to sustain for longer durations.
Rowing vs Swimming
Both are full-body, low-impact exercises. Swimming requires access to a pool and the ability to swim well. Rowing requires a machine and 10 minutes of technique learning. For a home gym setup, rowing is the obvious choice — you can’t install a pool in your spare room.
Frequently Asked Questions
How long should a beginner row for? Start with 10-15 minutes per session, focusing on technique rather than duration. Once your form is consistent (usually after 3-4 sessions), build up to 20-30 minutes. There’s no benefit to rowing for 45 minutes with bad form — you’re just practising bad habits.
Is rowing bad for your back? Not if you use proper form. Rowing with a rounded lower back or excessive lean is risky. Rowing with a neutral spine and correct leg-core-arm sequence is actually one of the safest back exercises available, because it strengthens the posterior chain without impact loading.
What stroke rate should I aim for? For steady-state cardio, 18-24 strokes per minute. Most beginners row too fast at 28-35 SPM with weak strokes. Slow it down, push harder with your legs, and you’ll generate more power and burn more calories at a lower stroke rate.
Should I row every day? Not initially. Start with 3 sessions per week with rest days between. Rowing uses your back muscles heavily, and they need 24-48 hours to recover. Once you’ve been rowing consistently for 2-3 months, you can increase to 4-5 days per week if your body tolerates it.
What damper setting should I use? Between 3 and 5 for most people. The damper is not a difficulty dial — setting it to 10 doesn’t give you a better workout, it just stresses your back and shoulders unnecessarily. A setting of 4-5 best mimics the feel of rowing on water and allows smooth, powerful strokes.