An exercise bike should feel stable and uneventful beneath you: no hips rocking, no knees pinching at the top of the stroke and no need to hang your weight from the handlebars. A good exercise bike setup starts with saddle height, but reach, foot position and the way you sit under resistance matter just as much. Set those contact points in the right order and you will pedal more comfortably, keep better control and avoid wasting half your session shuffling around.
In This Article
- Exercise Bike Setup: The Five-Minute Starting Position
- Set Your Exercise Bike Saddle Height
- Adjust Saddle Fore-Aft and Saddle Angle
- Set Handlebar Height and Reach
- Position Your Feet, Knees and Upper Body
- Test and Fine-Tune the Fit Under Load
- Fix Common Exercise Bike Setup Problems
- Frequently Asked Questions
Exercise Bike Setup: The Five-Minute Starting Position
Do not copy somebody else’s numbered settings unless you share the same bike model and body proportions. A setting of 12 on a Wattbike does not translate to 12 on a Peloton, and two riders of the same height may need different reach because their leg and torso lengths differ.
Start with the bike switched off and level on the floor. If it rocks, adjust its levelling feet before touching the saddle. A £29.99 Domyos medium floor-protection mat from Decathlon is a sensible addition on hard flooring; the £39.99 large version suits longer spin bikes. The mat protects the floor, but it should not be used to disguise an unstable machine.
Use this adjustment order
- Level the bike: confirm every foot is firmly planted and tighten any stabiliser bolts specified in the manual.
- Set approximate saddle height: stand beside the bike and put the top of the saddle around the level of your hip bone.
- Set saddle fore-aft: begin near the middle of its adjustment rail rather than pushing it to an extreme.
- Raise the handlebars: start level with the saddle, or slightly higher if you want a relaxed upright position.
- Test while pedalling: make small changes under light-to-moderate resistance, one setting at a time.
This starting sequence is close to the basic method in Wattbike’s setup guidance. It is a baseline, not a substitute for a professional bike fit when pain persists or you are trying to reproduce a precise outdoor-bike position.
Record the settings
Take a side-on photograph and note the saddle-height, saddle-reach and handlebar settings. A Stanley 5 m tape measure is about £6.97 at Screwfix and is enough for comparing contact-point measurements; the bike’s own numbered markers are quicker for everyday changes. If several people share the bike, keep each rider’s settings on a note beside it. That prevents the familiar first five minutes of every session becoming an argument with four adjustment levers.
If you are still choosing a machine, check our guide to choosing between a treadmill, bike and rower. Adjustment range matters more than an impressive console if the shortest or tallest person in the house cannot achieve a safe position.
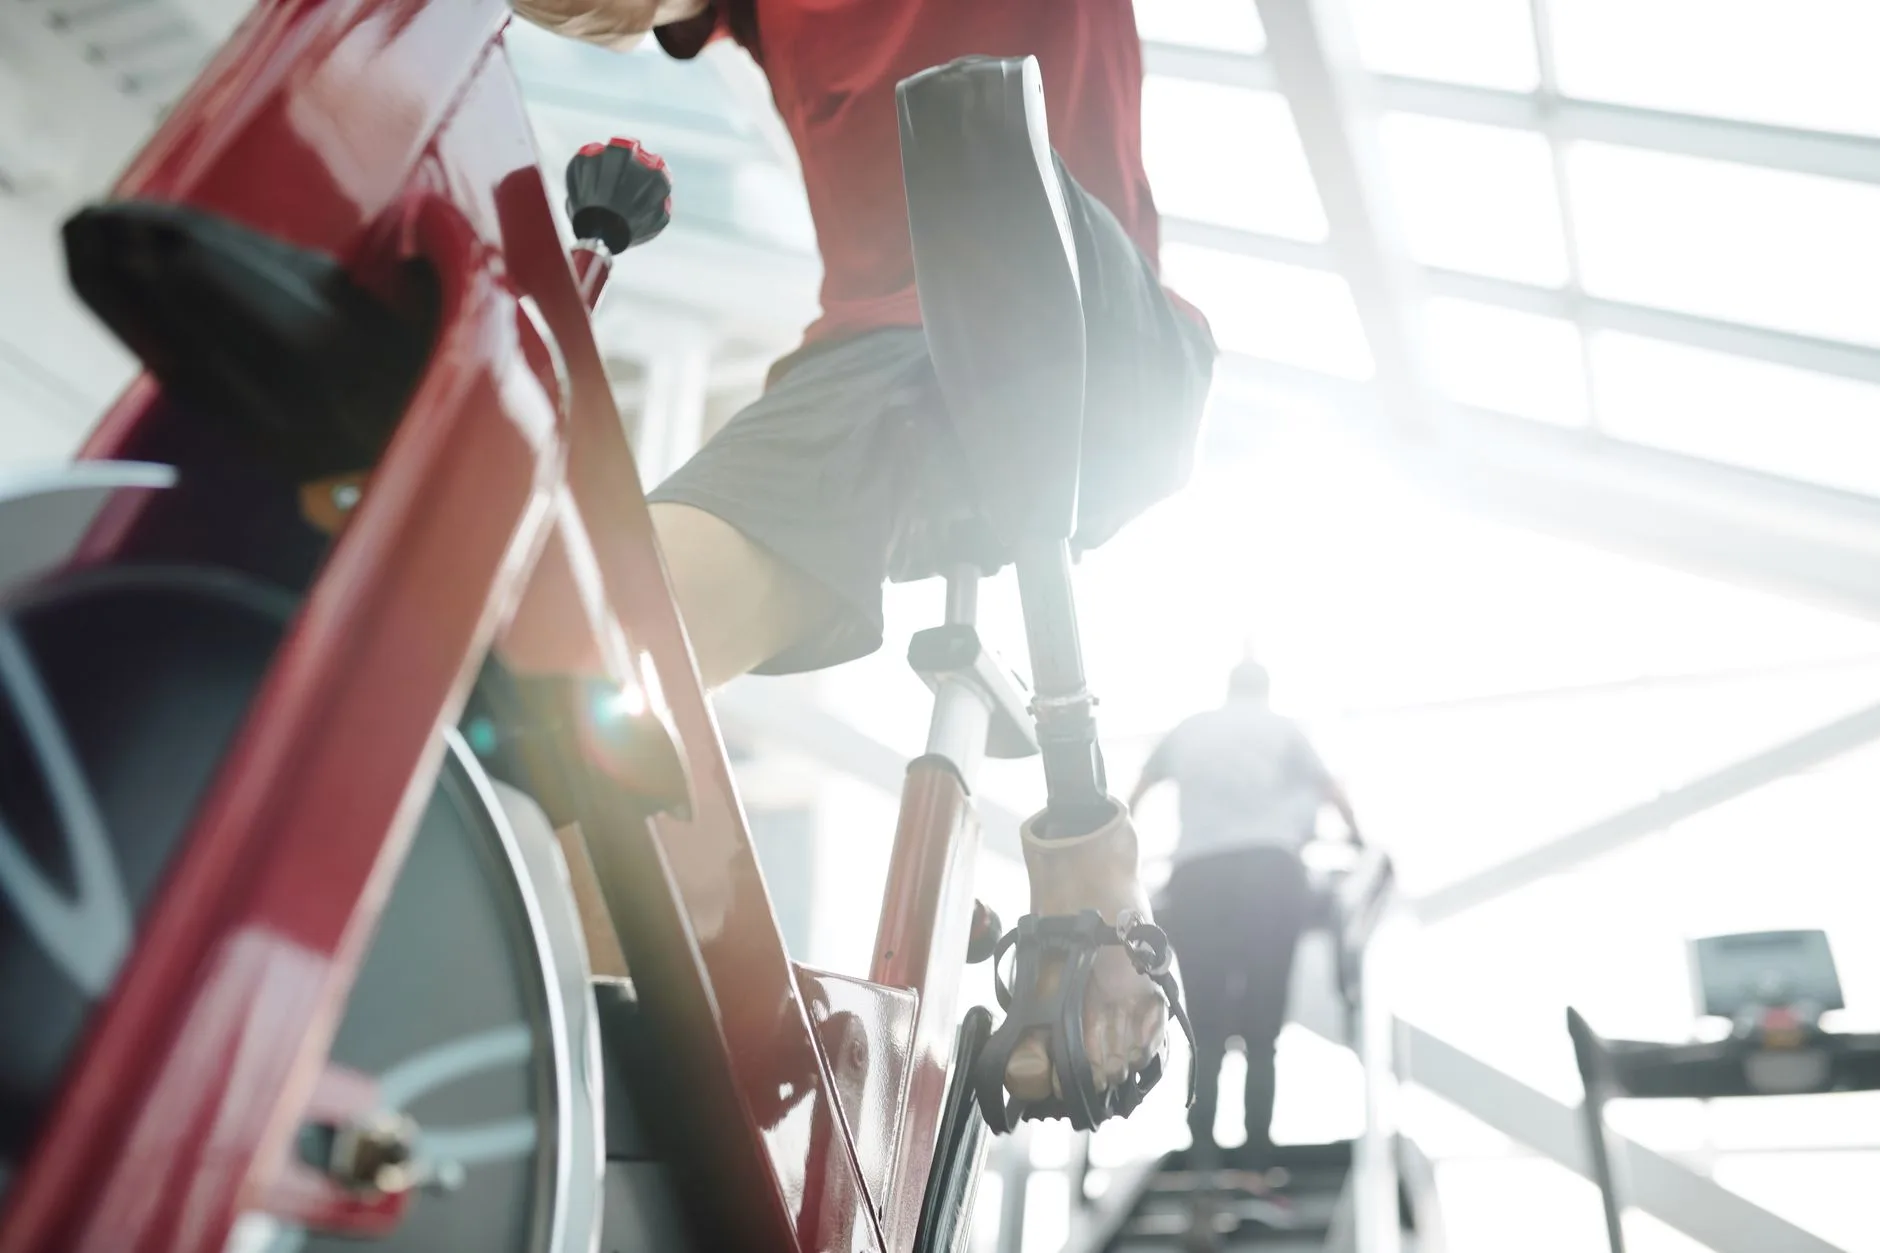
Set Your Exercise Bike Saddle Height
Saddle height controls how far your knee and hip must bend on every revolution. Too low feels cramped and loads the front of the knee; too high encourages you to reach for the bottom of the stroke, point your toes or rock your pelvis from side to side.
Start at hip height
Stand beside the bike in the shoes you will ride in. Set the saddle roughly level with the top of your hip bone, sit down and place your heel on the pedal. Move that pedal to the bottom of its circle. Your leg should become nearly straight without your hip dropping or your pelvis sliding across the saddle.
Now place the ball of your foot over the pedal axle, which is where you will actually ride. This should introduce a modest bend at the knee. There is no useful universal angle for every home rider without measuring tools and a clear side-on view, so prioritise a smooth stroke and stable pelvis over chasing a number from social media.
Check the height while pedalling
Pedal for two minutes at easy resistance, then increase it until you have to apply steady force. Watch for these signs:
- Probably too low: your knees feel crowded near your chest, your thighs rise excessively, or pressure develops at the front of the knee.
- Probably too high: your hips rock, your toes point down to find the pedal, or you lose firm contact at the bottom of the stroke.
- Close to right: your pelvis stays quiet, your knees retain a small bend at the bottom and the pedal stroke feels even.
Our preferred method is to make one notch or roughly 5 mm of change, ride again, then reassess. Moving the saddle by several centimetres because one knee feels odd makes it difficult to identify what helped.
Upright, spin and recumbent bikes differ
The same principles apply, but the geometry changes. On an upright or spin bike, saddle height is measured vertically above the pedals. On a recumbent bike, you move the seat backwards or forwards until the knee remains slightly bent at maximum extension. Do not use the standing hip-height test on a recumbent bike.
A folding exercise bike may offer only broad pin positions. If the ideal point falls between two holes, use the lower setting only if it does not leave you badly cramped; never ride with a locking pin partly inserted. Riders comparing basic machines can see the typical compromises in our best exercise bikes under £200 guide.
Adjust Saddle Fore-Aft and Saddle Angle
Once height is close, adjust how far the saddle sits from the handlebars. Fore-aft position changes where your knee tracks relative to the pedal and how much weight rests on the saddle and hands. It should not be used mainly as a shortcut for an unsuitable handlebar reach.
Find a neutral fore-aft position
Sit naturally with both pedals level, at three and nine o’clock. Put the balls of your feet over the pedal axles. As a practical starting check, the front knee should sit broadly above the centre of the forward pedal. A plumb line can help, but this is a starting reference rather than a medical rule.
Move the saddle forwards if you cannot reach the bars without rounding your back, but stop if the front knee becomes excessively crowded over the toes. Move it backwards if you feel pushed too far over the front of the bike, provided you can still reach comfortably. After any fore-aft change, recheck saddle height because moving along an angled rail can alter the effective distance to the pedals.
Keep the saddle close to level
Begin with the upper surface level. A phone spirit-level app is adequate for a home bike if you place the phone on a flat board across a curved saddle. A small nose-down adjustment may reduce soft-tissue pressure, but a steep downward tilt makes you slide forwards and support yourself through locked arms. Nose-up tilt can create unwanted pressure and should not be the first answer to sliding backwards.
The saddle itself may be the wrong width or shape even when its position is sound. The British Heart Foundation’s 2026 beginner cycling guide treats saddle height and angle as part of fit and recommends an expert bike fit, which is why buying a padded cover before checking position often treats the symptom rather than the cause. The Domyos exercise-bike saddle cover is about £9.99 at Decathlon if you still want light cushioning after the position is settled.
Set Handlebar Height and Reach
Handlebars should let you steer and stabilise yourself without carrying your upper-body weight. The best setting depends on the bike style, your mobility and the purpose of the session. A relaxed rehabilitation ride and a hard indoor-cycling session do not need identical positions.
Choose handlebar height first
Set the bars level with or slightly above the saddle as a forgiving starting point. Raise them if you are new to indoor cycling, have limited hip or hamstring mobility, or find yourself rounding your back. Lower bars create a more forward position, but they are not an automatic upgrade. If lower means tense shoulders and locked elbows, it is simply a worse fit.
For an upright exercise bike, the handles may be fixed. In that case, saddle adjustment has to achieve a compromise without pushing the knees into a poor position. For a spin bike or smart bike with separate height and reach controls, set height before reach so you change only one dimension at a time.
Set a relaxed reach
Place your hands where you use them for most of the ride. Your elbows should stay softly bent, shoulders down and chest open. You should be able to loosen your grip briefly without collapsing forwards. If you have to straighten your arms fully, round your back or crane your neck to see the screen, the reach is too long or the bars are too low.
We would choose a slightly shorter, higher position for a beginner over a low imitation of a road-racing posture. Comfort makes it easier to complete the beginner exercise-bike workouts; you can lower the front end later if mobility and training goals justify it.
Do not let the screen dictate your body position
Large consoles tempt riders to look up or reach forwards. Angle the screen towards your natural eye line where the bike allows it. If you use a tablet, place it high enough that you do not spend 45 minutes staring towards the floor, but not so high that your chin is permanently lifted. Your head should feel balanced over your shoulders.
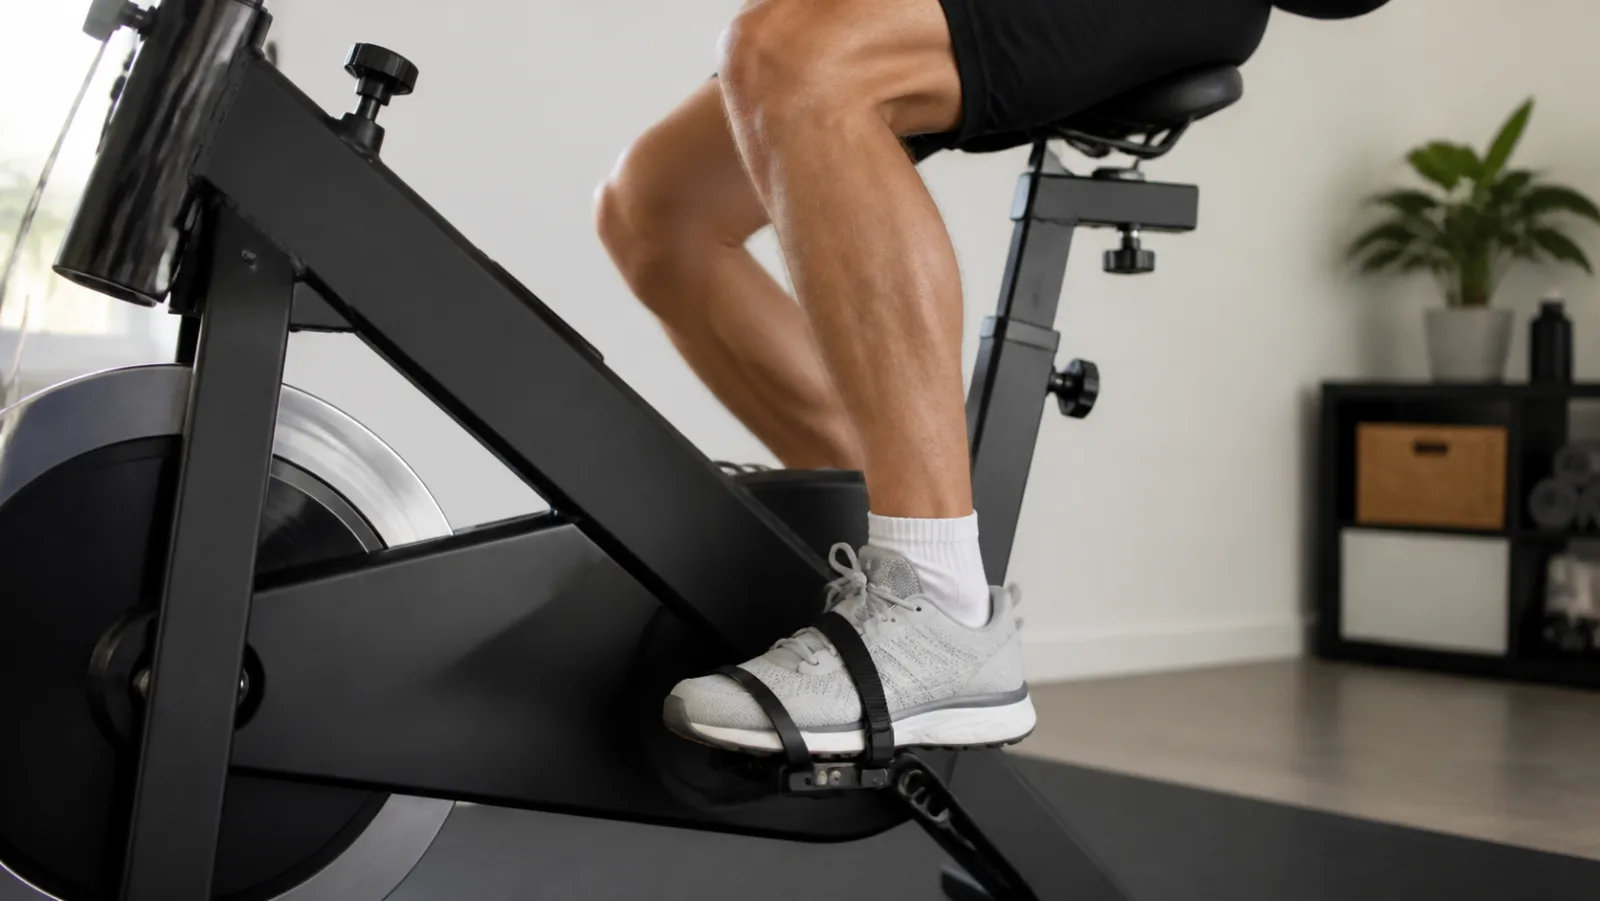
Position Your Feet, Knees and Upper Body
The adjustment levers establish the bike’s geometry; your riding position determines whether it works. Good posture is active rather than rigid. You need enough movement to pedal naturally without allowing the knees, shoulders or pelvis to wander.
Centre the ball of the foot over the pedal axle
With ordinary flat pedals, put the widest part of the foot over the pedal centre and secure the strap without crushing the shoe. If the shoe sits too far forwards, the pedal axle ends up under the arch; if it sits too far back, you push mainly through the toes. Both positions reduce stability.
Clip-in pedals need the cleat positioned and tightened correctly. If you are unfamiliar with cleat adjustment, use the supplied flat pedals or toe cages first. Do not rotate the foot into an unnatural straight-ahead position merely because it looks tidy. Your knee should track in the same general direction as your toes.
Keep knees tracking smoothly
From the front, each knee should travel in a stable line rather than repeatedly dropping inward or bowing outward. Check at low resistance, then again under a realistic load. Knee movement can reflect foot placement, saddle position, fatigue or an individual mobility issue; do not assume every wobble is cured by moving the saddle.
Stack the upper body without bracing
Sit on the broad rear portion of the saddle with your pelvis neutral. Keep a light abdominal brace, relaxed shoulders, neutral wrists and soft elbows. Avoid these common habits:
- Death-gripping the bars: it usually means the resistance is too high, the reach is too long or you are using the bars to hold yourself up.
- Leaning all your weight forwards: this unloads the saddle but transfers pressure to hands, shoulders and neck.
- Bouncing through the hips: lower resistance or cadence first; if it persists, recheck saddle height.
- Pedalling only with the toes: keep the ankle controlled and think about a smooth circle rather than stamping down.
If your goal is calorie tracking rather than bike fit, machine estimates can distract from form. Our guide to tracking calories burned during workouts explains why a consistent method is more useful than treating the console figure as exact.
Test and Fine-Tune the Fit Under Load
A position can look fine while stationary and fail as soon as resistance rises. The final test is a controlled ride long enough for your normal habits to appear, but short enough to stop before irritation becomes pain.
Use a ten-minute fit check
- Minutes 0–2: pedal easily and notice whether your hips remain still.
- Minutes 2–5: add moderate resistance and check knee tracking, foot security and hand pressure.
- Minutes 5–7: ride at your usual cadence while watching your shoulders and neck.
- Minutes 7–9: briefly change hand position or sit slightly more upright without shifting around on the saddle.
- Minute 10: reduce resistance, cool down and record one change to test next time.
Change only one variable between tests. If you raise the saddle, move it forwards and drop the bars together, you will not know which adjustment caused the improvement—or the new ache.
Use video, not guesswork
A side-on phone video at pedal height is more revealing than trying to look down at your own knee. A basic phone tripod costs roughly £15–£25 from Amazon UK or Currys. Film 20–30 seconds at normal resistance, keeping the whole rider and bike in frame. Look for hip rocking, reaching at the bottom of the stroke and locked elbows.
Record the final settings once you can ride for ten minutes without shifting to escape pressure. If the bike is shared, repeat the fit check for each user rather than scaling one person’s numbers by height.
Once the position is settled, choose training that suits it. The rowing machine versus exercise bike comparison explains the different movement demands, while our heart-rate zones guide helps set intensity without turning every ride into a maximal effort.
Fix Common Exercise Bike Setup Problems
Discomfort is information, but it is not a diagnosis. Stop if you feel sharp, worsening or persistent pain. A qualified physiotherapist, clinician or professional bike fitter is the right next step when a sensible adjustment does not settle the problem.
Front-of-knee discomfort
First check whether the saddle is too low or too far forwards. Raise it one small increment, verify that the hips remain stable and test again at easy resistance. Also check that you have not increased resistance so far that every pedal stroke becomes a slow leg press.
Pain or pulling behind the knee
The saddle may be too high or too far back. Look for pointed toes and hips rocking towards the bottom of the stroke. Lower the saddle by one increment and retest. Do not keep lowering it if the rear-knee sensation remains unchanged.
Numb hands, sore wrists or tense shoulders
Raise the handlebars, shorten the reach if possible and soften your elbows. You should not need to prop up your torso through the heel of each hand. If the bike has fixed bars, a more upright saddle position may help, but not at the expense of badly cramped knees.
Saddle soreness
New riders often need a little time to adapt, but increasing pain, numbness or broken skin is not something to push through. Check level, reach and saddle width. Padded cycling shorts are usually a better option than piling a thick, unstable cushion over the saddle. A cover can make a firm seat feel softer for short rides, but too much padding may increase movement and friction.
Hips rocking or feet losing contact
Lower the saddle slightly and confirm the straps or cleats hold the forefoot securely. If rocking starts only at high cadence, reduce cadence and rebuild control before increasing speed again. In our view, a controlled stroke at a modest cadence is more useful than a faster one held together by gripping the bars.
The bottom line is simple: begin with hip-height saddle placement, refine fore-aft position, bring the bars to you and prove the result under load. A neat-looking setup is irrelevant if you cannot pedal smoothly without gripping, rocking or reaching.
Frequently Asked Questions
How high should the seat be on an exercise bike? Start with the saddle around hip-bone height while standing beside an upright or spin bike. With your heel on the pedal at its lowest point, the leg should be nearly straight without your hip dropping. Put the ball of your foot on the pedal and confirm a small knee bend remains.
Should exercise-bike handlebars be higher than the seat? Beginners and riders seeking a relaxed position usually do well with the bars level with or slightly above the saddle. Lower bars suit some trained cyclists, but only if they can maintain relaxed shoulders, soft elbows and a neutral back.
How far should the exercise-bike seat be from the handlebars? Set the reach so you can hold your normal hand position with softly bent elbows and relaxed shoulders. You should not have to round your back, lock your arms or slide onto the nose of the saddle.
Why do my knees hurt on an exercise bike? A low or forward saddle can contribute to front-of-knee discomfort, while a high or rearward position can cause reaching and irritation behind the knee. Resistance, training load and individual health issues also matter, so stop and seek professional advice if pain is sharp or persistent.
Should my feet be flat when using an exercise bike? Keep the ball of each foot over the pedal axle with the ankle controlled rather than forcing the whole foot flat. Avoid reaching with pointed toes at the bottom of the stroke, which often indicates an excessively high saddle.
Do I need a professional bike fit for an indoor exercise bike? Most recreational riders can establish a comfortable baseline using the checks above. A professional fit is sensible if pain persists, you have a previous injury, you train for long periods or you need to reproduce an outdoor-bike position precisely.